Before you start
For Windows / macOS
- Adobe Photoshop
- Gameplay screenshot
- Character, item or reaction image
- A short thumbnail idea
Watch the workflow
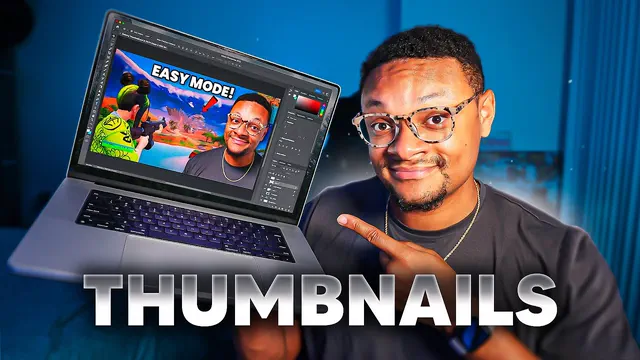
How to Make Gaming Thumbnails Like a Pro (PC & Mac)
A companion walkthrough to follow alongside the written guide.
Watch on YouTube ↗Build it step by step
- 01
Decide what the image should communicate
Write the main idea in one sentence before opening Photoshop. For example: “This match came down to one final shot.” Choose a screenshot or subject that shows that idea. The thumbnail should help someone understand the video, so avoid adding rewards, reactions or results that the video does not contain.
- 02
Create a widescreen canvas
Choose File → New, use pixels and RGB color, and create a 3840 × 2160 document for a standard 16:9 video thumbnail, following YouTube’s current recommendation. Start with sRGB for web use. Name the file after your video. This layout is for widescreen videos; a vertical Short needs a different composition.
- 03
Place the background and main subject
Use File → Place Embedded to add the screenshot, then resize it without distorting its proportions. Add your main character, item or reaction on another layer. If you need a cutout, make a selection and add a layer mask so you can fix the edges later. Keep the subject larger than the supporting details.
- 04
Create contrast before adding effects
If the subject blends into the scene, darken or simplify the background instead of piling on outlines. Leave some clear space around the focal point. Toggle your changes on and off: the subject should become easier to recognise, not just brighter. Keep important details away from the lower-right corner where the video duration may appear.
- 05
Use text only when it adds meaning
If text helps, try two to five words such as ONE SHOT LEFT. Put it on its own type layer with a bold, readable font and strong contrast. Avoid repeating the whole title. A thin stroke or shadow can help over a busy background, but remove it if the wording is already clear.
- 06
Check the thumbnail at small size
Zoom out to roughly the size of a thumbnail in a feed. Ask: can you identify the subject, read the words and understand the idea without enlarging it? If not, remove a competing element or shorten the text. Also inspect the image at 100% for rough cutout edges and blurry source art.
- 07
Save, export and upload
Save a layered PSD first. Use File → Export → Export As for a JPG or PNG and choose sRGB conversion if offered. Aim below 2 MB if you also want to upload from mobile; YouTube currently allows larger desktop uploads. In YouTube Studio, open the video’s details, upload the thumbnail and save. Reopen the exported image to check it.
Check your finished work
Use this checklist before moving on.
Something not working?
The design looks busy even with large text
- Remove one secondary subject or decorative element.
- Keep only the detail needed to understand the video idea; try a version with no text.
The exported file is too large
- Export a JPG and reduce quality gradually while inspecting the result.
- Check the upload limit for the device you are using. Keep the PSD as your working file, not your upload.
I cannot upload a custom thumbnail
- Check that your YouTube account has custom-thumbnail access and is verified.
- Confirm that the exported file is JPG or PNG and meets the applicable size limit.
The cutout looks rough
- Zoom in and refine the layer mask, then inspect again at feed size.
- Avoid enlarging a tiny source image so far that its pixels dominate the design.