
Before you start
For Windows / macOS / Linux
- Desktop file manager
- A safe local project drive
- Backup location
Watch the workflow
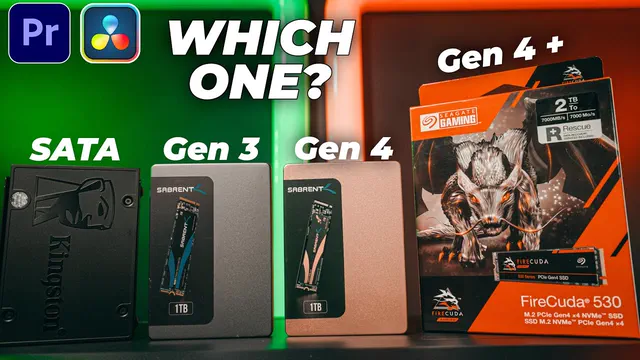
How to Set Up your Storage Workflow as a Video Editor? | NOOB ➡ PRO
A companion walkthrough to follow alongside the written guide.
Watch on YouTube ↗Build it step by step
- 01
Create one folder for the video
Name the project with a date and topic, for example 2026-09-06-brawl-match-review. Inside it, start with 01 Source, 02 Project, 03 Exports and 04 Publish. Add subfolders for voice, music or images only when you need them. Keep an empty template to reuse; a short project does not need eight empty categories.
- 02
Copy your source files into place
Copy footage and audio into 01 Source before importing them. Use a reliable internal or external drive with enough space. Downloads and messaging folders are easy to clear accidentally, so do not leave the only copy there. Open a few clips after copying to check that the transfer completed.
- 03
Name files before importing
For standalone clips, use names such as match-01-gameplay.mp4 and intro-voice-take-02.wav. Keep file extensions intact. Preserve a camera’s original folder structure when it uses companion files. Once media is imported, avoid moving or renaming it outside the editor unless you are prepared to relink it.
- 04
Separate the edit from the delivery
Use 02 Project for editor project files or exported project backups, 03 Exports for renders, and 04 Publish for thumbnails, title, description and credits. Try names such as match-review-v01.mp4 and match-review-v02.mp4 instead of final-final. Some editors store projects in a database; export a project backup into this folder too.
- 05
Check that the project can reopen
Save, close and reopen the edit. Scrub through several clips and confirm there is no offline media. Check that the chosen export and thumbnail match the version you plan to publish. If handing the project to someone else, use your editor’s collect or archive function when available to include media stored elsewhere.
- 06
Back up and verify before cleanup
Copy the project and required source media to a separate backup location. Another folder on the same drive will not protect against that drive failing. Open several files from the backup and confirm the project backup is present before deleting originals from a phone or camera. Remember that sync can also copy accidental deletions.
Check your finished work
Use this checklist before moving on.
Something not working?
The editor says media is offline
- Find the original clip and use the editor’s relink or locate-media command.
- Reconnect the external drive if needed. Avoid reimporting everything and rebuilding the edit until you have tried relinking.
I copied the folder but the project is missing
- Check whether your editor stores projects in its own database or library.
- Export a project file or archive and include it with the backup. A finished MP4 is not an editable project.
I cannot tell which render to publish
- Keep a short note in Publish naming the approved render and thumbnail.
- Move superseded renders into an Archive subfolder once you have checked the current version.